Demo 1
Without StabLib FX
With StabLib FX
Stabs, ad-libs and hooks, finished in seconds with 300+ presets for rap, trap, R&B, house and pop.
AU, VST3 and standalone, for Mac and Windows.

Point at any part of the plugin, or tap it, to see what it does.
Press play, then switch between the two while it plays. It's the same take at the same loudness, so the only difference you hear is StabLib FX.
The EQ, pitch, chorus, delay and reverb you'd stack on a vocal live in one insert, as one chain you can save and recall as a preset.
Five plugins
One StabLib FX
Load StabLib FX on any vocal track: AU or VST3 in your DAW, or the standalone app.
Browse 300+ chains by style, from ad-libs and stabs to trap, drill, R&B, house and pop.
Tweak any effect, drag the chain into a new order or hit Randomize, then save it as your own preset.
Stack them however you like, give each one its own mix, and save the chain as your own preset. Pick one to see it.
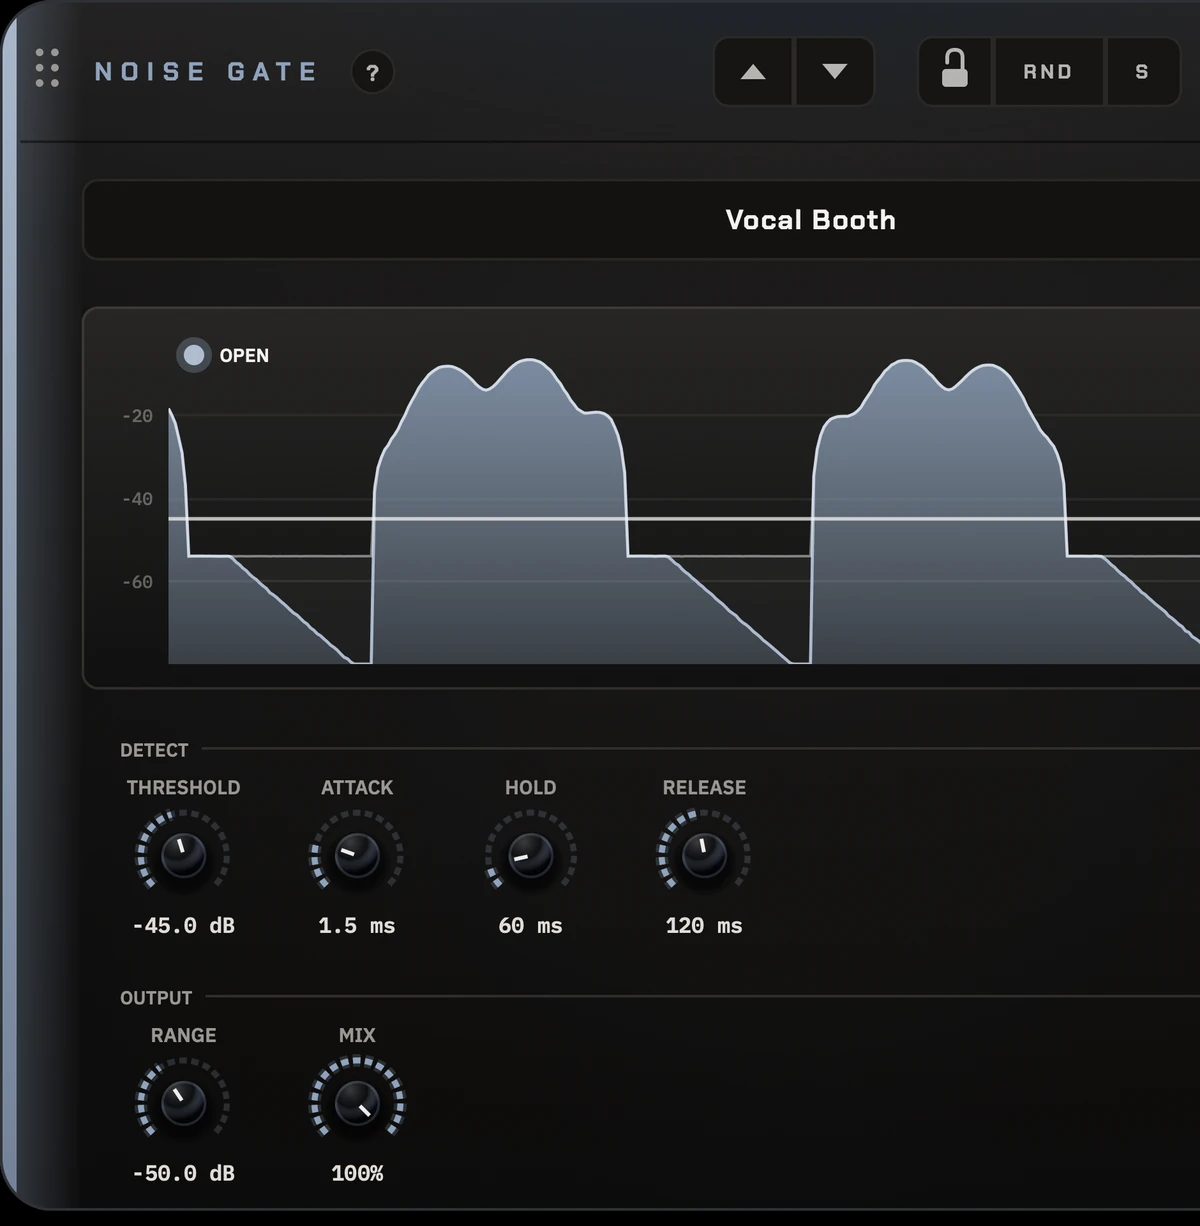
Silences the quiet bits between your phrases (breaths, headphone bleed, room hiss) and lets everything louder straight through. Keep it first in the chain, so the noise it removes never gets fed into a reverb or delay.
Try this: Play the track and slowly raise THRESHOLD until the noise in the gaps disappears. If the start or end of words gets cut off, back it down a little.
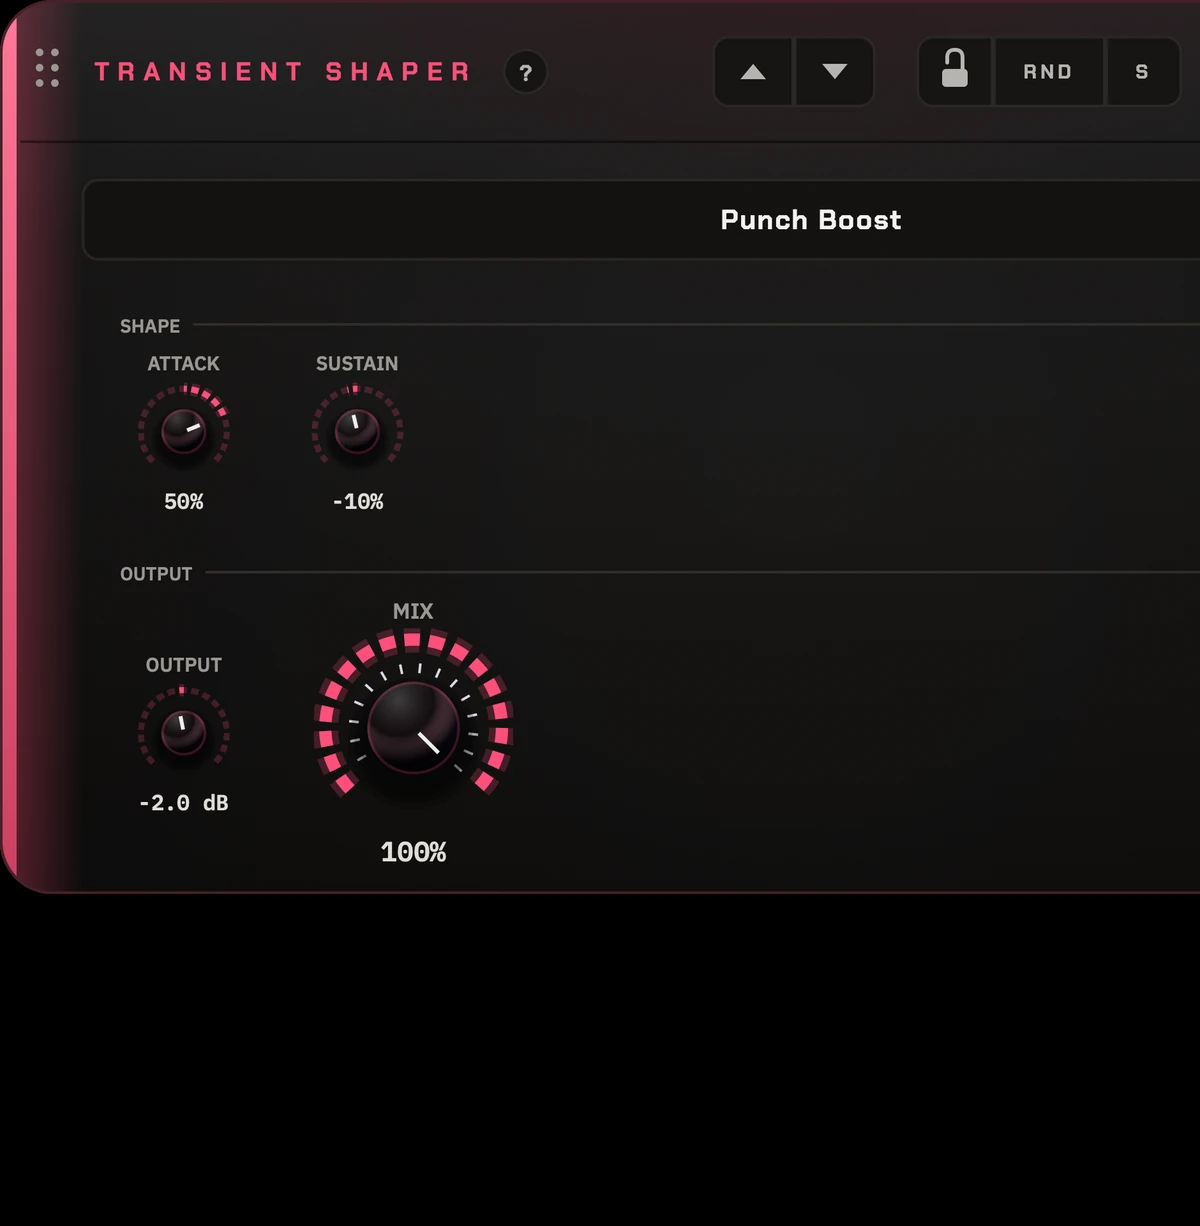
Changes the punch and body of a sound. The transient is the sharp start of each sound (a consonant, a drum hit); the sustain is everything that rings on after it. Turn either one up or down.
Try this: For more punch, turn ATTACK up to about +30%. For a tighter, drier sound, turn SUSTAIN down. Even out any change in volume with OUTPUT.
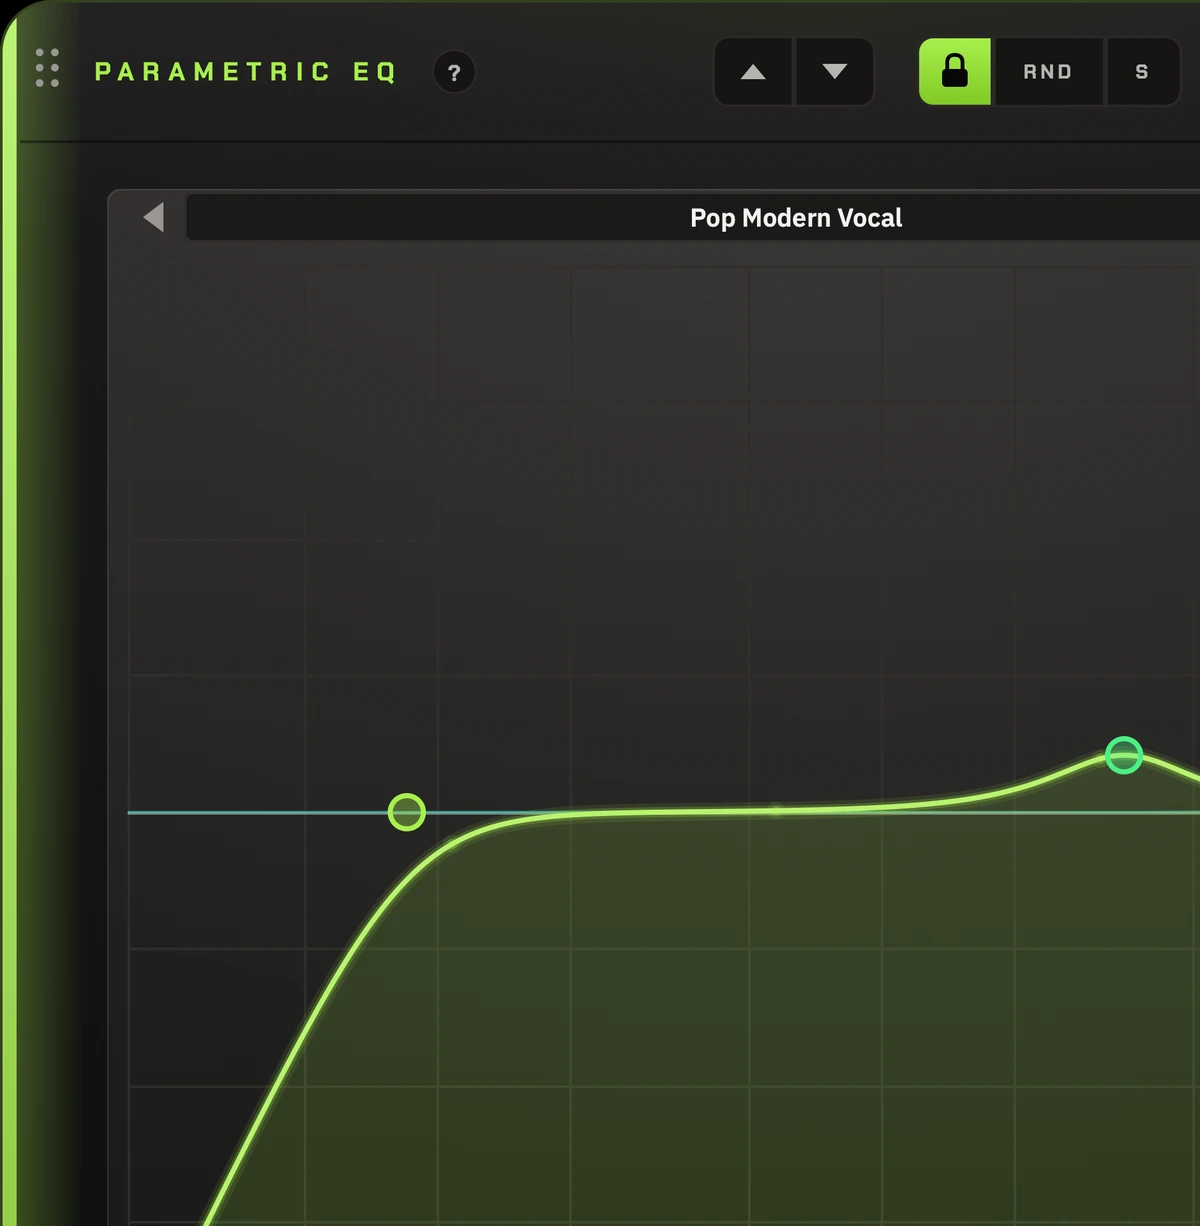
Turns chosen frequency ranges up or down: take out boominess, add air, cut a harsh ring. The line on the graph is your EQ curve, and the moving shape behind it is the sound going through.
Try this: Click the graph to add a band, then drag it down to cut or up to boost. Cut narrow, boost wide: most problems are fixed by turning something down, not up.
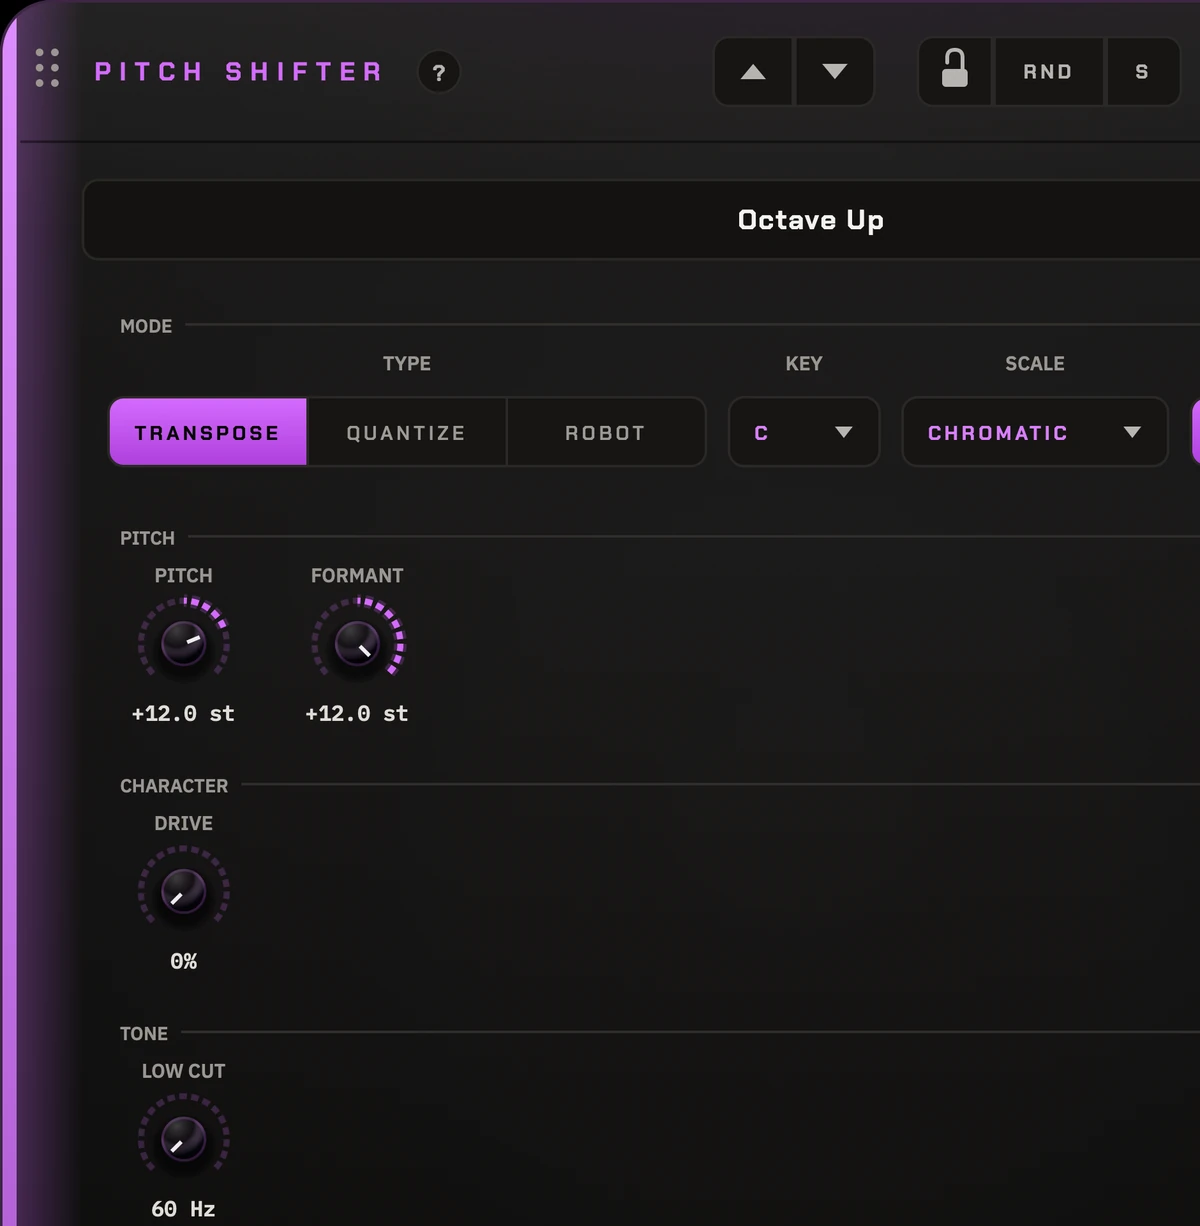
Changes the pitch of a voice, from an octave layer under an ad-lib to chipmunk and monster voices. It can also snap notes to a key (hard-tune) or turn a voice into a robot.
Try this: Octave layer under an ad-lib: PITCH -12, FORMANT 0, MIX about 40%. Hard-tune: set TYPE to Quantize, then set KEY and SCALE to match your song.
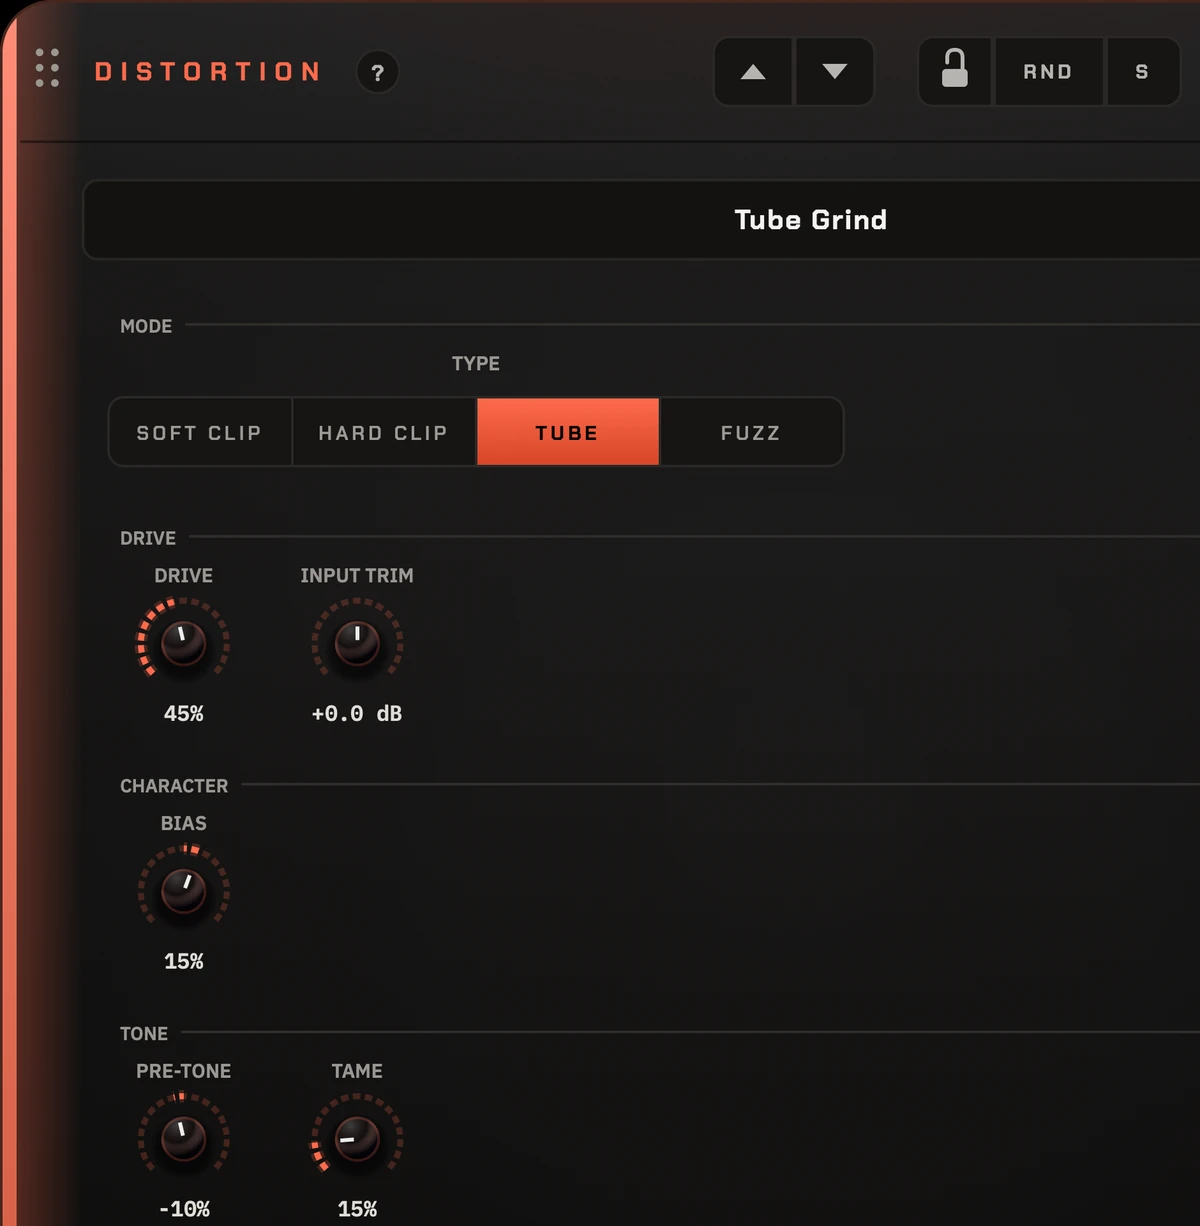
Adds grit, warmth and aggression by pushing the sound harder than it can cleanly handle, which squashes the peaks and adds new harmonics. Goes from a subtle warmth to full-on fuzz.
Try this: Set MIX to about 30%, then raise DRIVE until you hear the edge you want. Use OUTPUT to match the level with the effect off, so you're judging the tone, not the loudness.
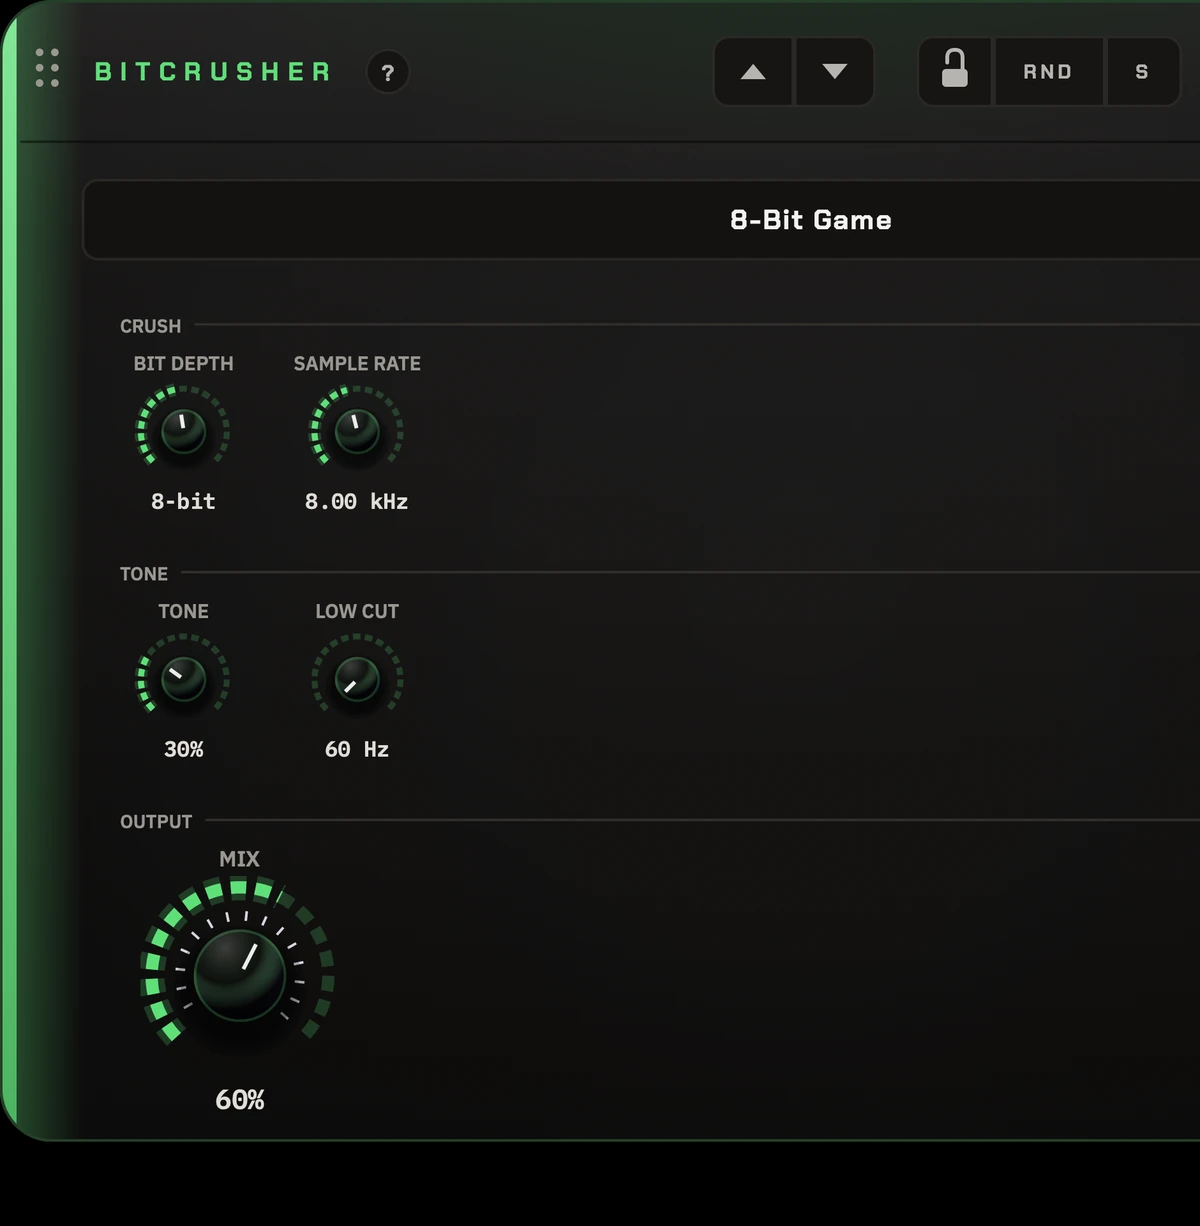
Lowers the audio quality on purpose, for a lo-fi, digital, video-game or blown-speaker sound. It measures the sound more coarsely, in both volume and time, which adds grit, fizz and a metallic edge.
Try this: Leave BIT DEPTH high, bring SAMPLE RATE down to 8-12 kHz, then raise TONE to smooth off the harshest fizz. Blend it in with MIX.
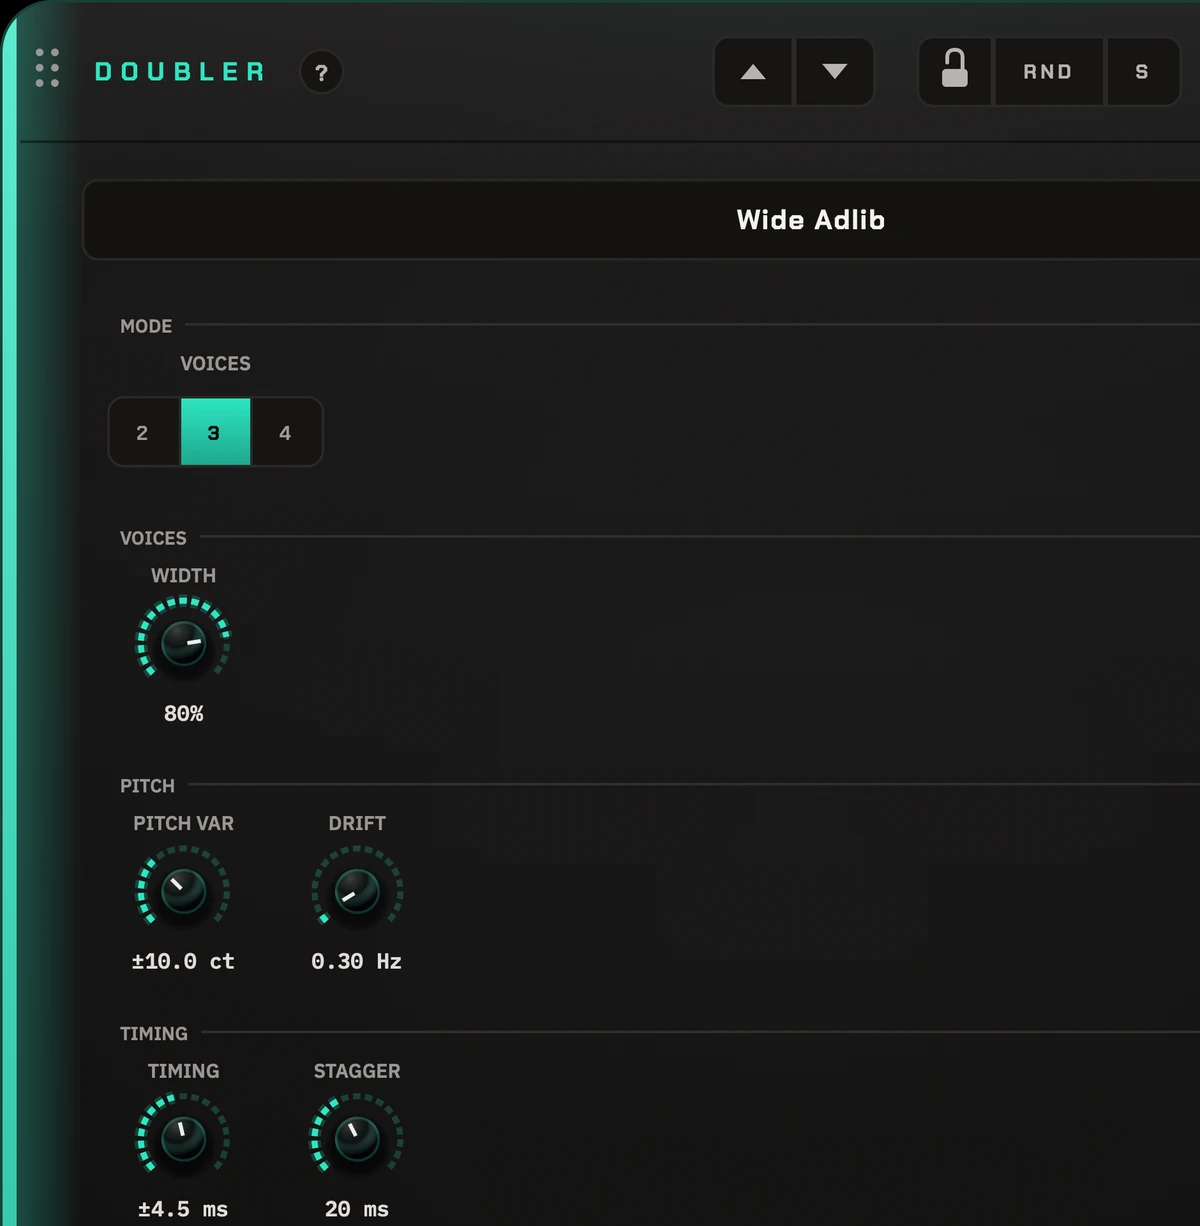
Makes one vocal sound like several takes sung together. Each extra voice drifts a little in pitch and timing, the way a singer's second take would, for a thicker, wider sound without the swirl of a chorus.
Try this: Start with 2 voices, MIX at 30-40% and WIDTH around 60%. If it sounds wobbly or out of tune, bring PITCH VAR down.
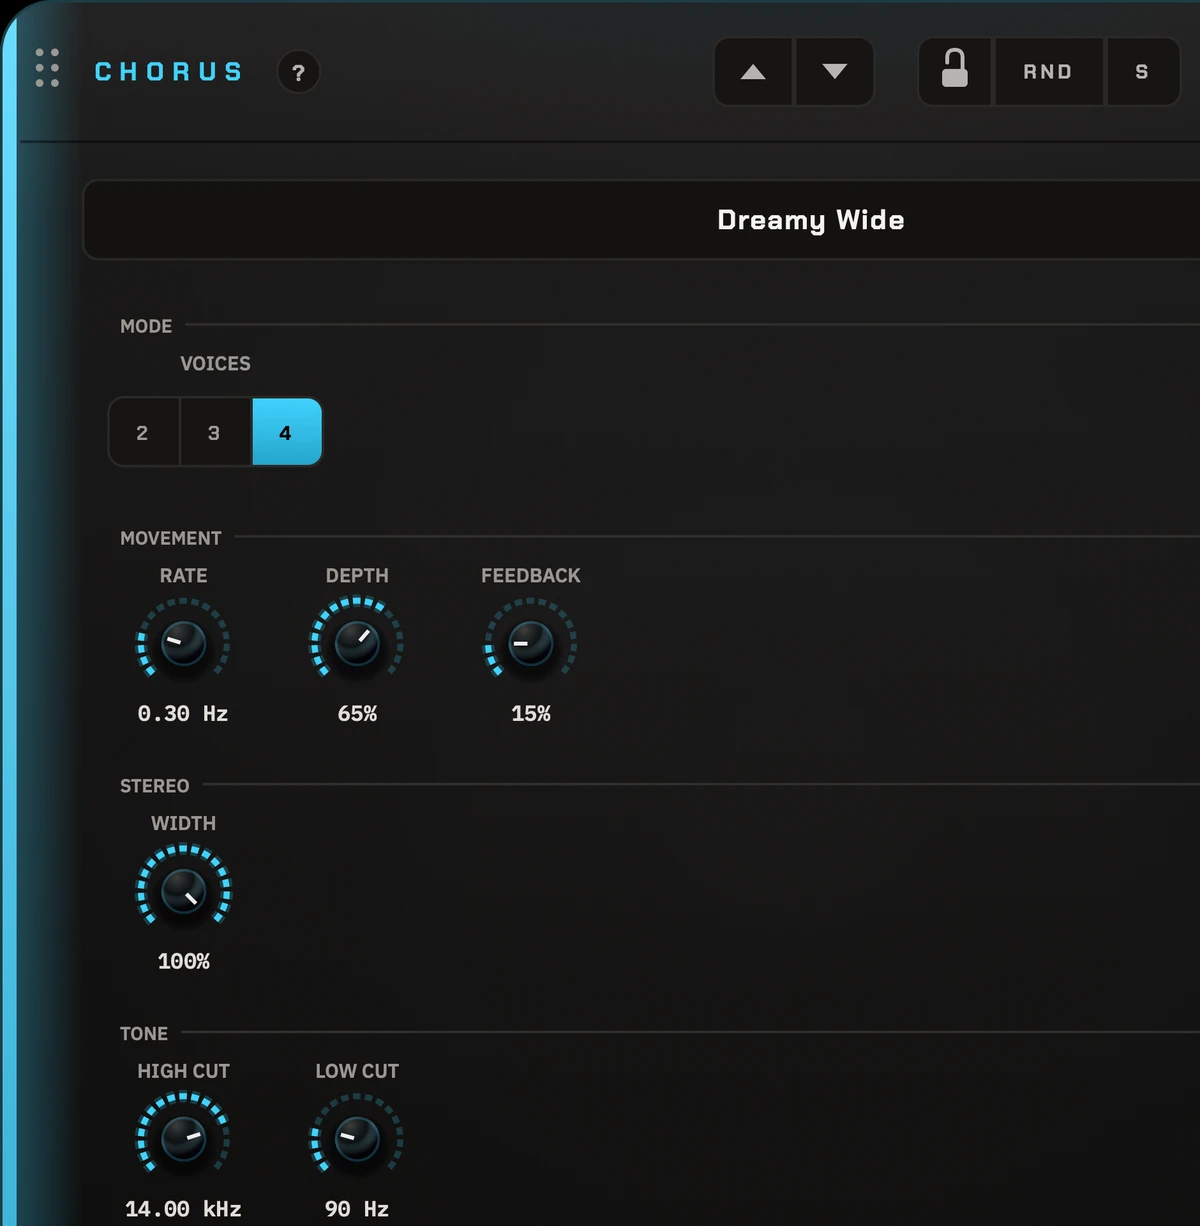
Layers slightly delayed copies of the sound whose pitch gently wobbles, for a lush, shimmering, wider sound. More obvious and synthetic than the Doubler: think classic 80s guitar or dreamy pads.
Try this: Set MIX to 30-50%, keep RATE slow (under 1 Hz) and raise DEPTH until it shimmers. If it gets glassy, pull HIGH CUT down.
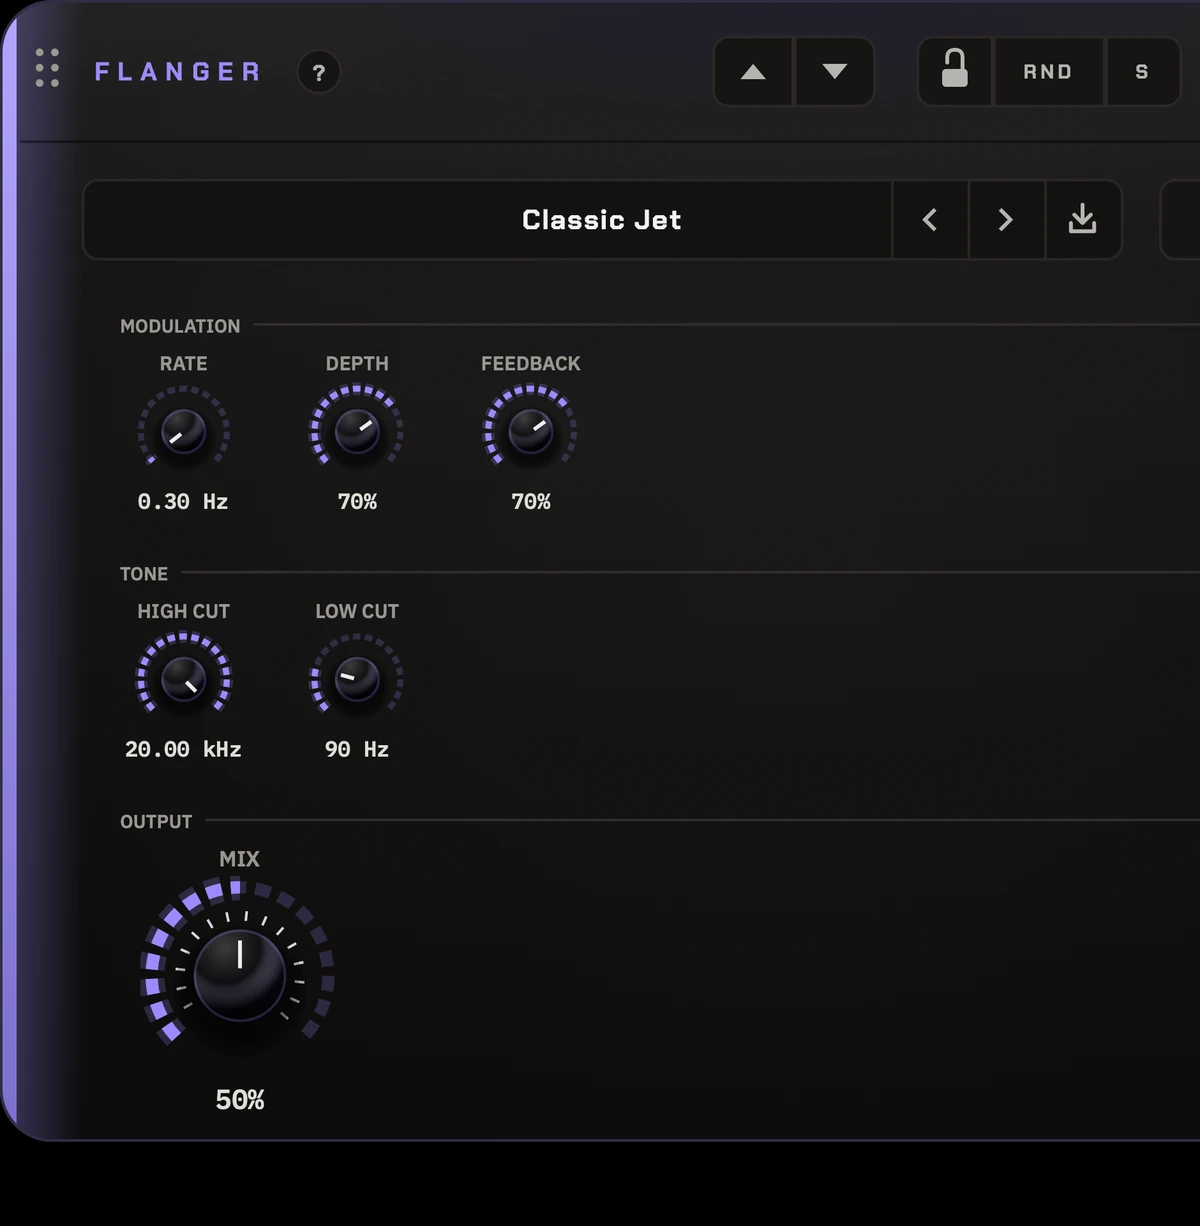
Mixes the sound with a copy of itself, delayed by a tiny amount that keeps moving. That creates the sweeping, whooshing “jet plane” sound, from a gentle shimmer to a metallic, robotic whirl.
Try this: Set MIX to 50% and RATE slow (0.2-0.5 Hz), then raise FEEDBACK for a stronger, more metallic sweep.
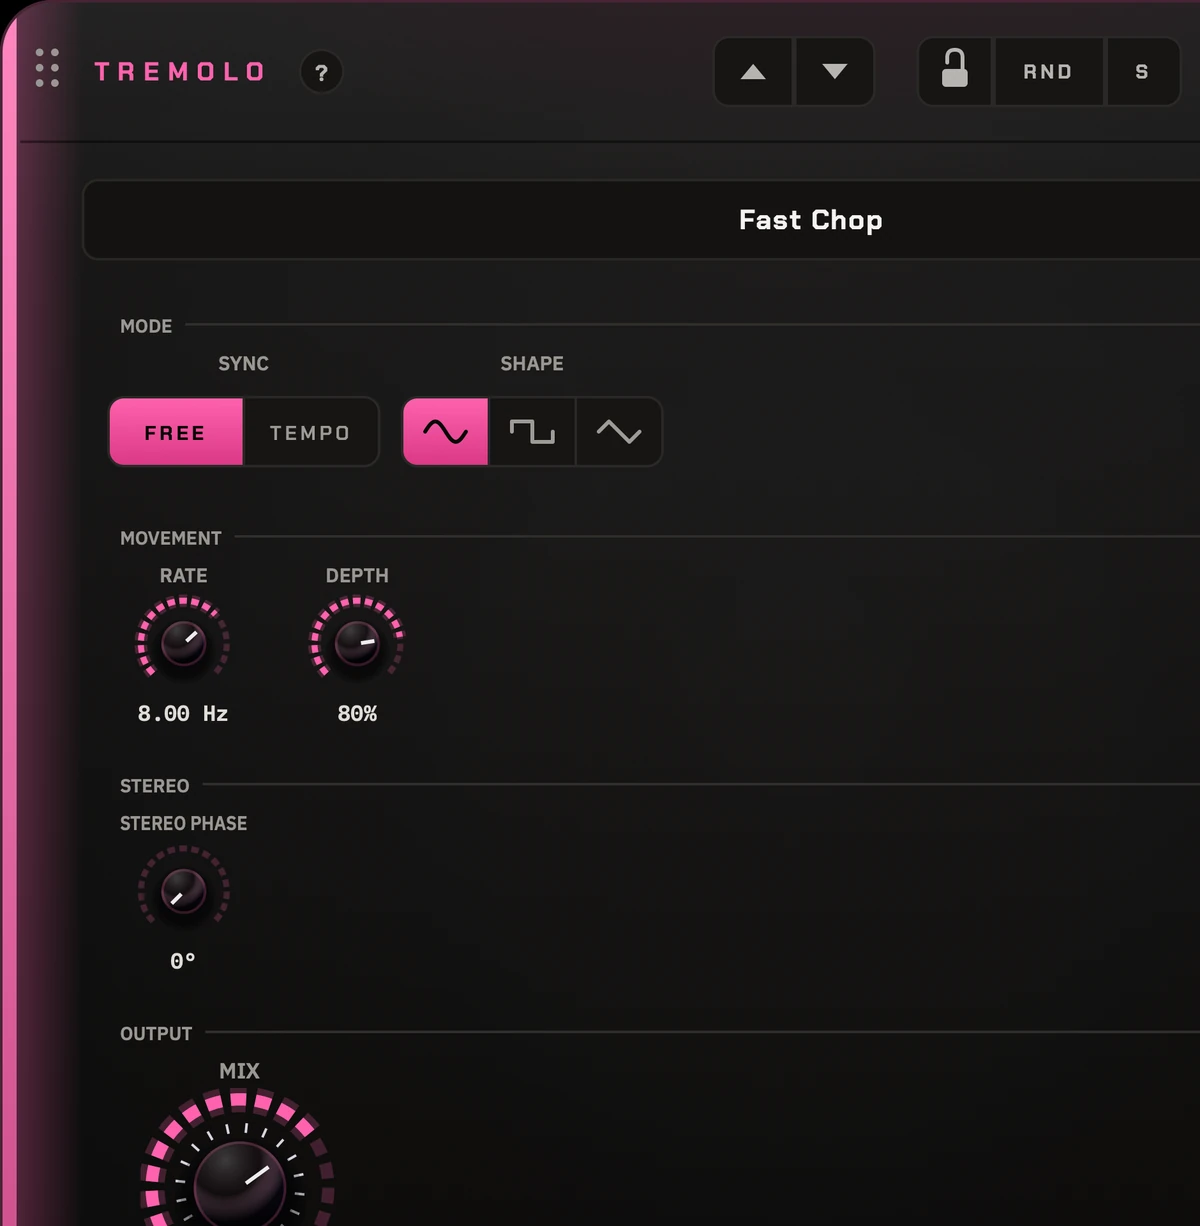
Turns the volume up and down in a steady rhythm, from a gentle pulse to a hard, choppy stutter.
Try this: Click RATE to lock it to your tempo and pick 1/8 or 1/16. Use SHAPE Square for a rhythmic chop, or Sine for a smooth pulse.
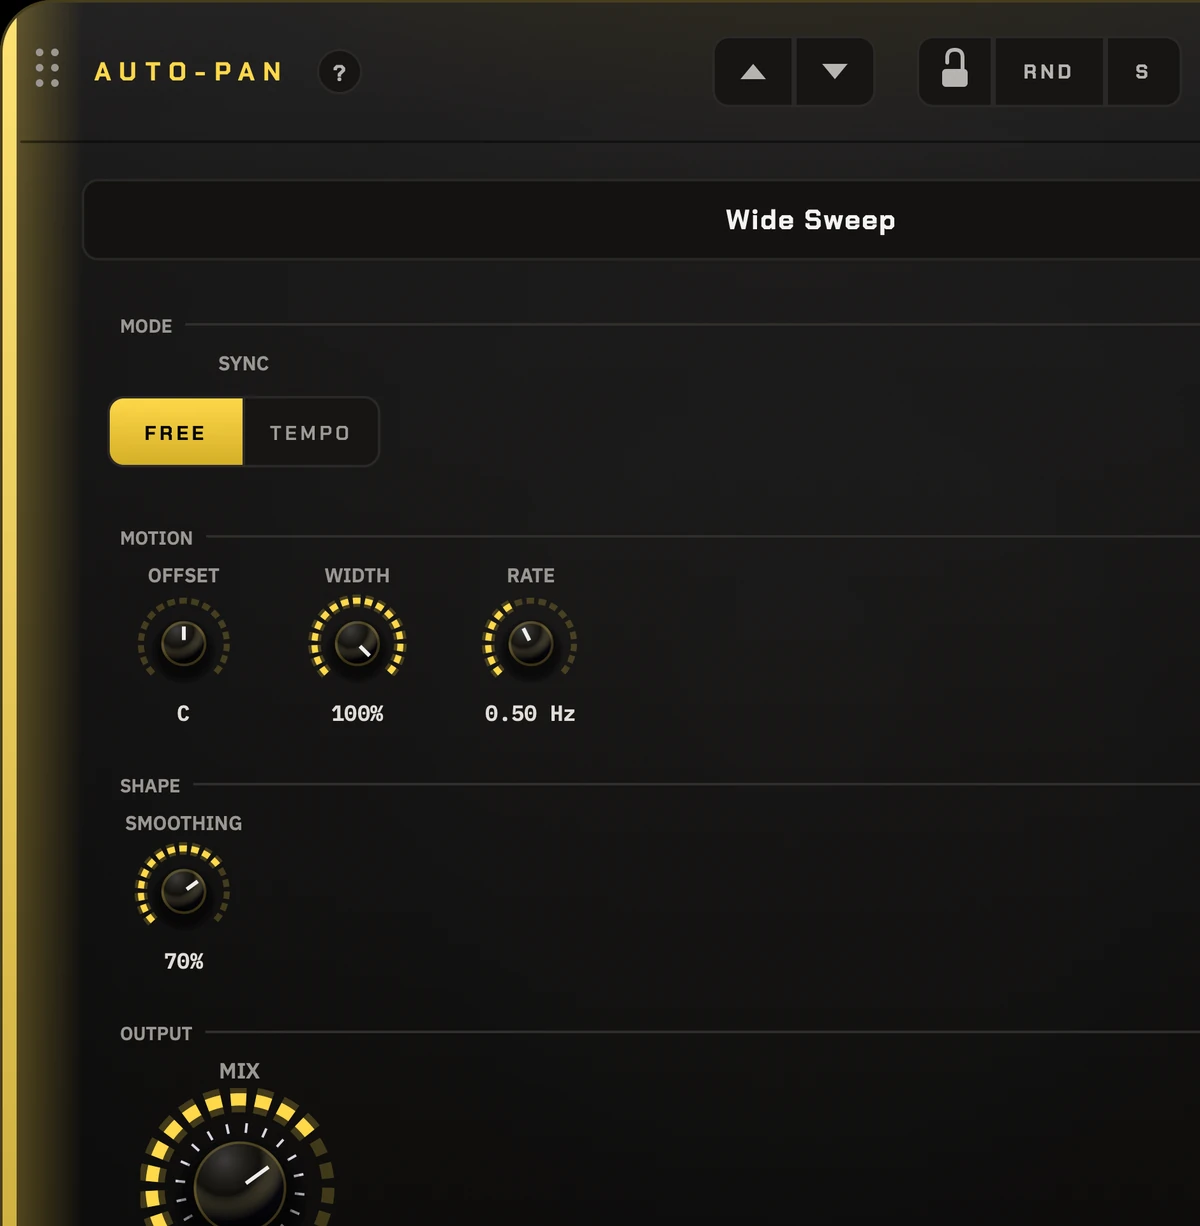
Moves the sound back and forth between the left and right speakers by itself, for movement and space in a mix.
Try this: Click RATE to lock it to your tempo and try 1/4. If the movement is too much on headphones, lower WIDTH.
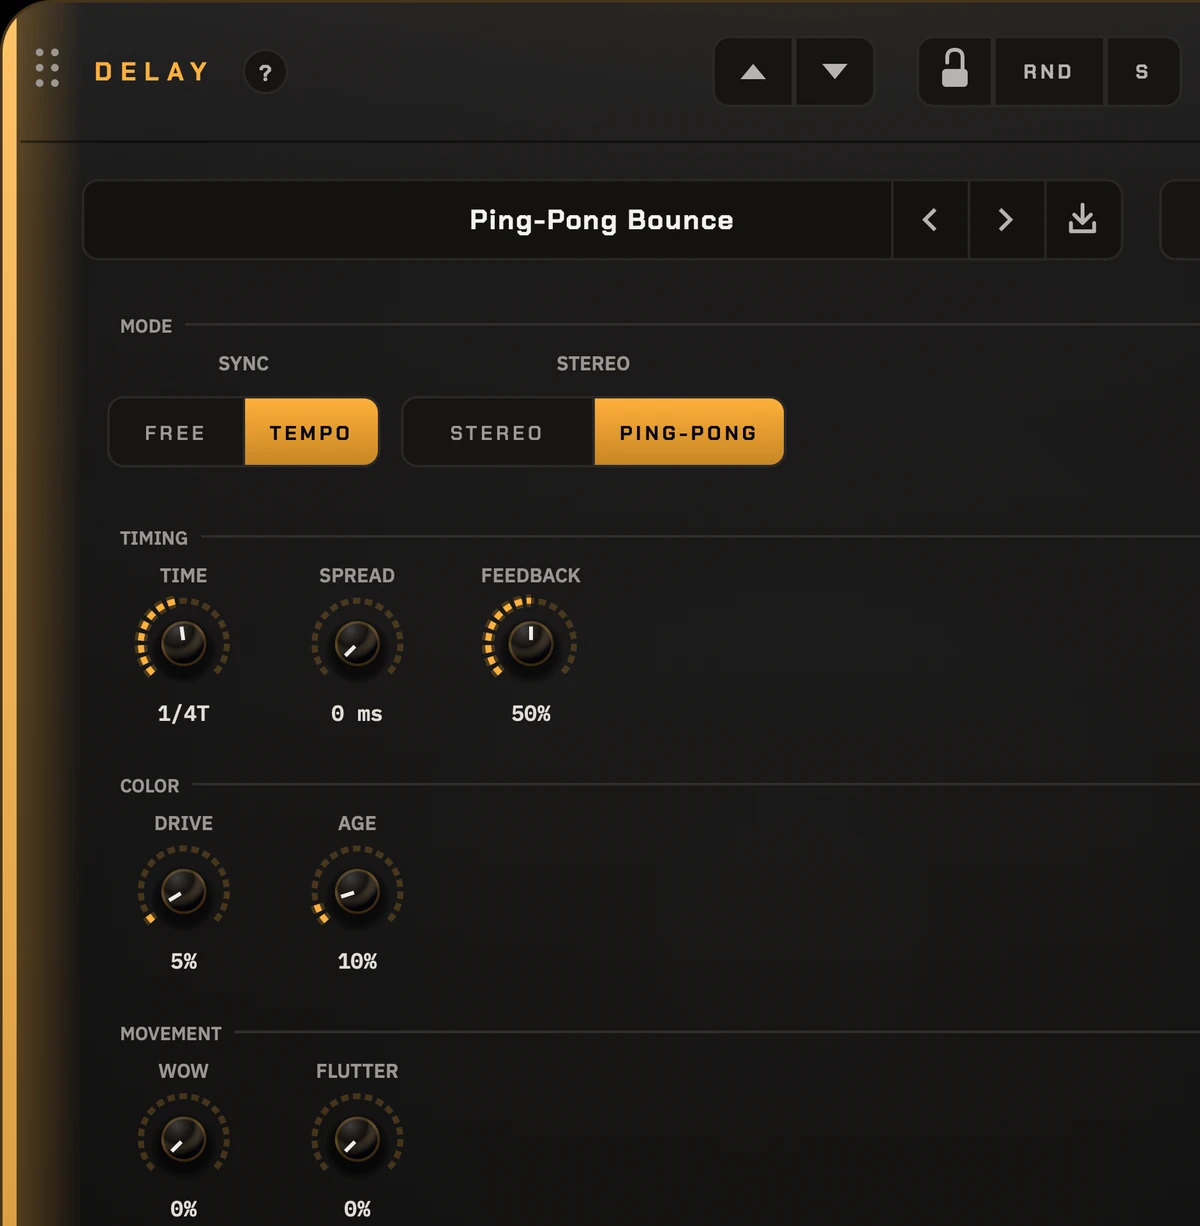
Repeats the sound as echoes. Short delays add width and slap; long ones leave rhythmic echoes trailing after each phrase, a classic for ad-libs and vocal throws.
Try this: Click the TIME knob to lock it to your song's tempo and pick 1/4 or 1/8. Set FEEDBACK to 25-35% and MIX to about 20%. Add DUCK so the echoes stay out of the way while you sing.
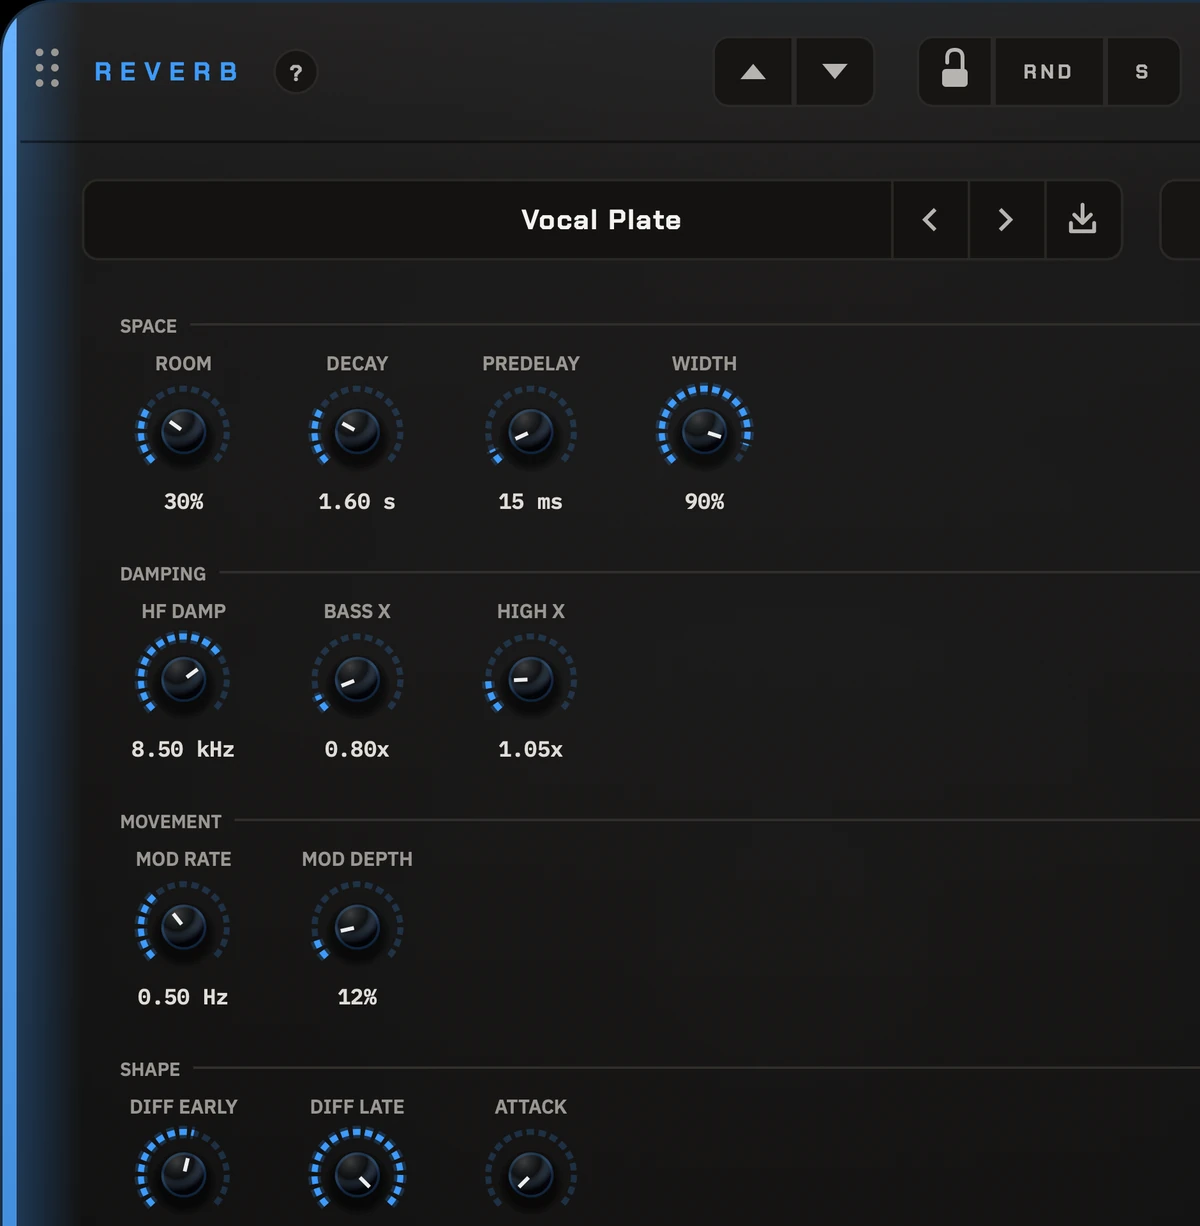
Puts the sound in a space, from a small room to a hall or a huge cave, by adding the thousands of reflections a real room would. It's the main way to give a vocal depth and make it sit in the track instead of on top of it.
Try this: Start with MIX at 15-20% and DECAY at 1.5-2.5 s. If it sounds harsh or splashy, pull HIGH CUT down. A little PREDELAY (under ADV) keeps the words clear.
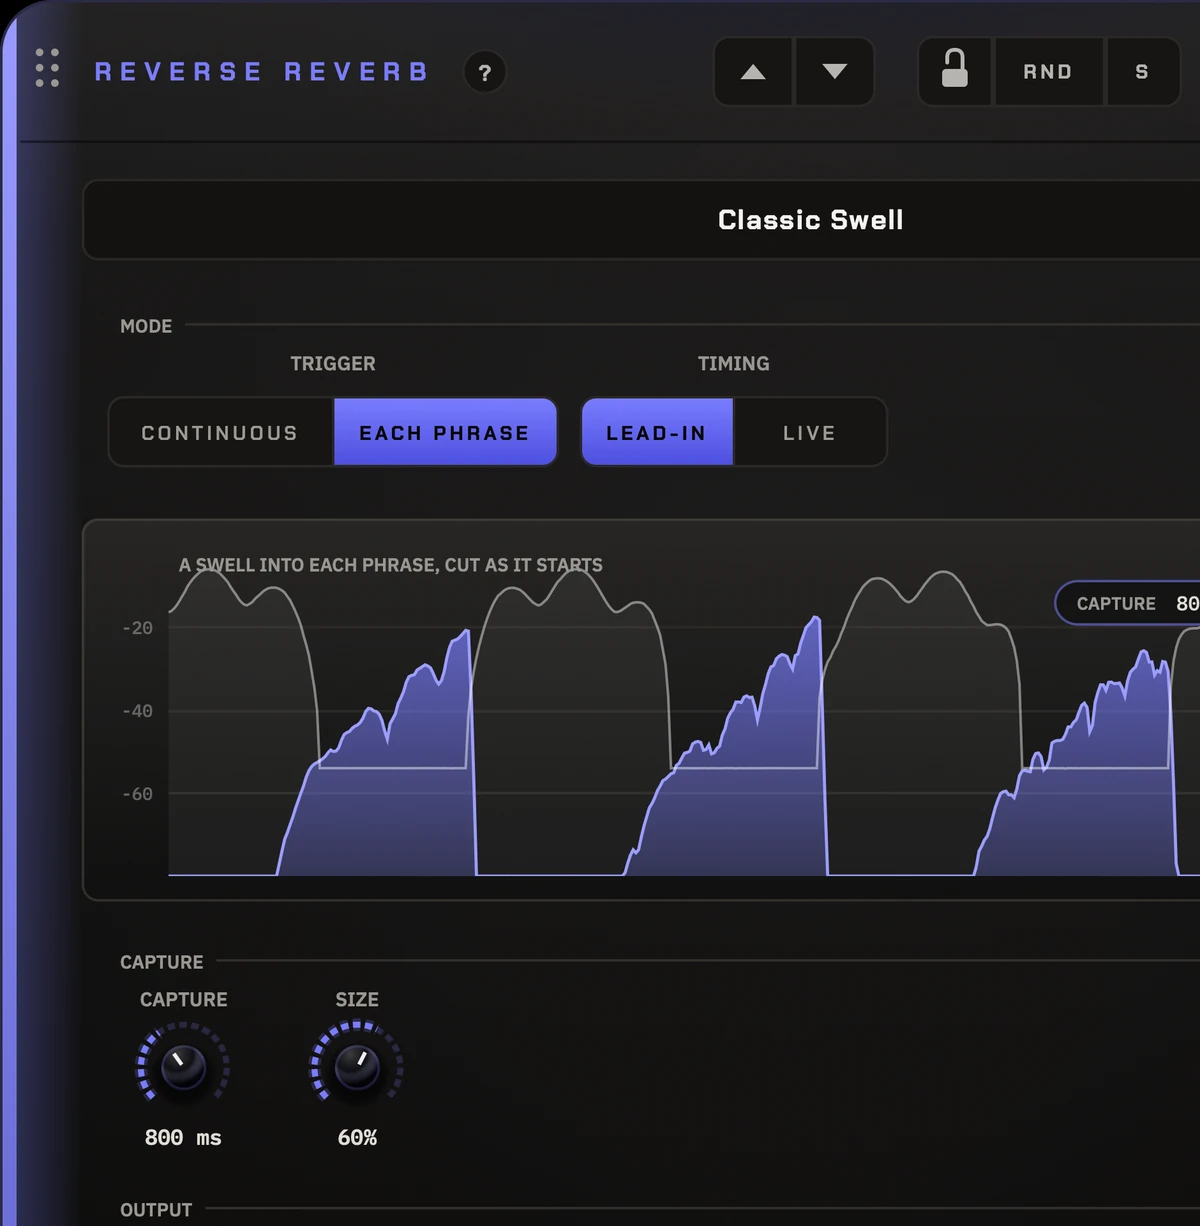
Plays a reverb backwards, so it swells up into each phrase instead of trailing off after it: the ghostly “sucked in” riser heard before vocal hits.
Try this: Leave TRIGGER on Each phrase, set CAPTURE to how long the swell should build (300-800 ms suits most vocals), and MIX to 30-50%. On Continuous, DUCK keeps the reversed wash from covering the words.
AU and VST3 in Logic Pro, FL Studio, Ableton Live, Studio One, Cubase, Reaper, Bitwig and GarageBand, or on its own as the standalone app.
Every effect's delay is reported to your DAW, so the vocal lands exactly where you recorded it, and tempo-synced effects follow your session.
It rests when the vocal is silent and only wakes when there's something to process, so a session full of copies stays smooth.
Mac: macOS 11 or later, Apple Silicon or Intel. Windows 10 or 11, 64-bit. Pro Tools (AAX) isn't supported yet: a Pro Tools update is coming soon.
Every update included, on up to 2 of your computers, or 5 for your studio with Studio. Cancel any time.
Join the list and we'll email you a free pack of extra presets straight away, then new presets and updates before anyone else. No spam, and you can unsubscribe with one click.
You'll get an email to confirm, then the pack. See our privacy policy.